

I am well known for making cake balls at my daughters’ birthday parties. I make all different kinds. All homemade of course! I have found that these are the best way to minimize the left over cakes on guests’ plates you always see. You know what I am talking about! Your hard work literally thrown away because everyone’s eyes are always bigger than their stomachs. Especially when you serve REALLY good munchies at the parties! These bad boys are the perfect size for everyone from small kidlets to the adults. Best part, there has YET to be a single one thrown away EVER in my house! My guests often fight over them!
YES. THEY. ARE. THAT. DAMN. GOOD!!!
Here is one of my FAVORITE varieties I make…..I hope you enjoy them as much as we do!!!!
Dark Chocolate Peppermint Cake Recipe……
Not a peppermint fan? Easy fix, just don’t add the peppermint oil. Yes, It is THAT easy!
Supply List:
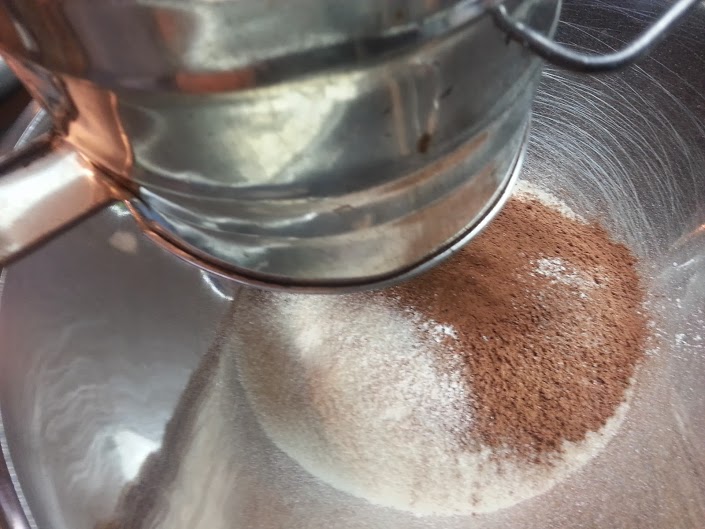
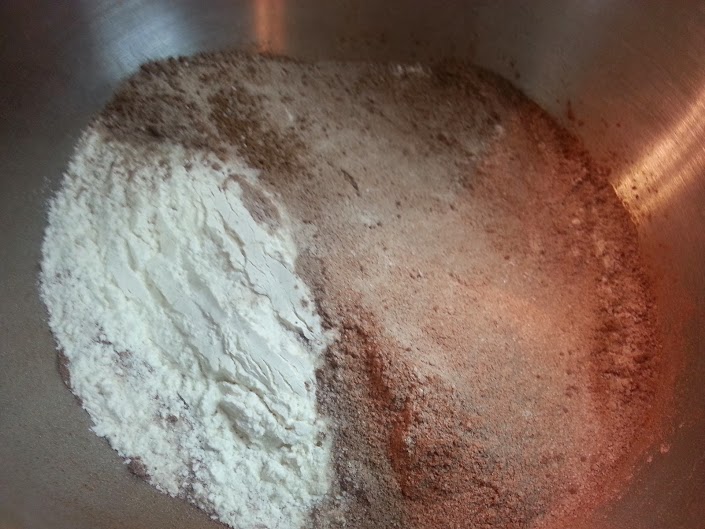
DRY INGREDIENTS….
1 3/4 cups Cake flour
2 cups Sugar
1 cup of Dark cocoa powder
1/2 tsp Baking Powder
1 tsp Salt
LIQUID INGREDIENTS….
2 Eggs
1 cup Milk
1 cup BOILING Coffee (Relax, I used decaf LOL)
2 tsp Vanilla extract
2 tsp Peppermint extract
1/2 cup oil or butter (I used butter this time)
greased Baking dishes (greased cake pans if you are not making cake balls)
Mixer of some form (I used my stand mixer)
Whisk
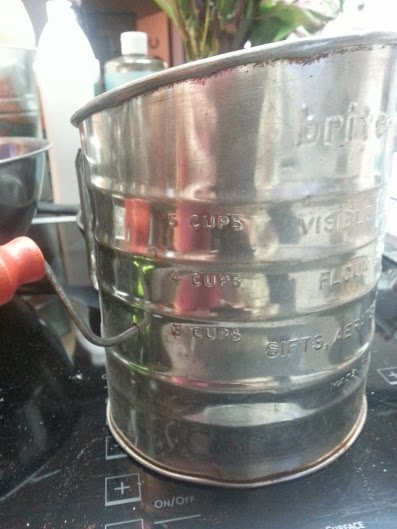
Sifter (Optional)
Mixing bowl (If you are not using a stand mixer, you will need 2 mixing bowls)
Directions:
Sift all the dry ingredients together in a mixing bowl (I did mine in my stand mixer’s bowl). If you do not have a sifter, use a whisk to combine and separate the dry ingredients.
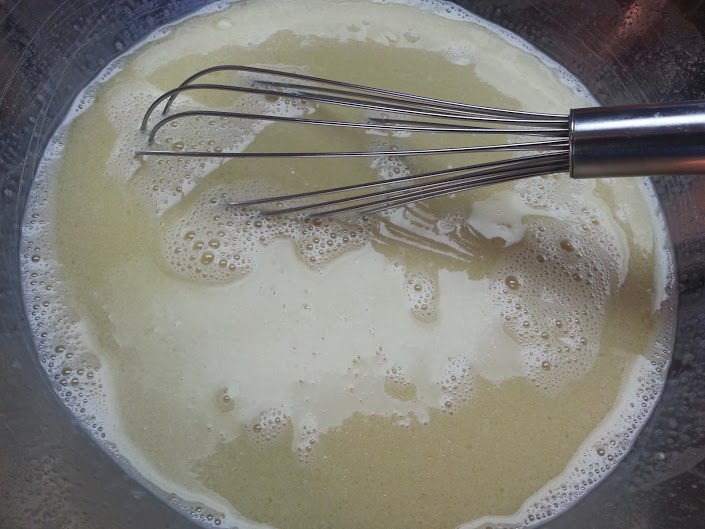
In the other mixing bowl, mix all the liquid ingredients adding the coffee in last.
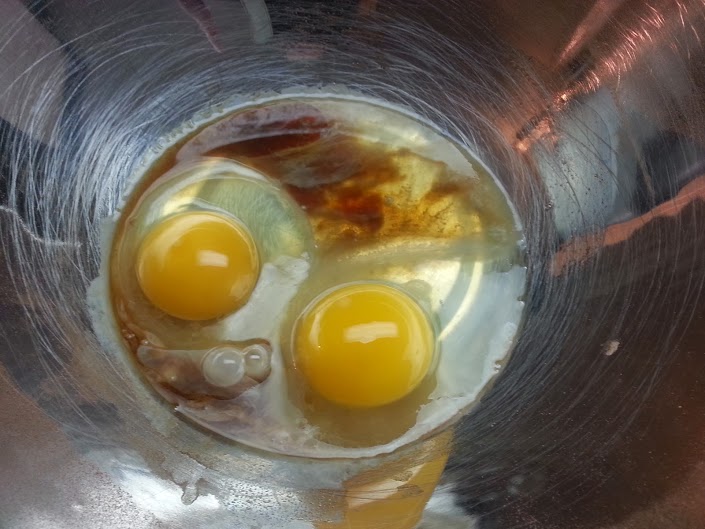


Whisk together the ingredients until blended.
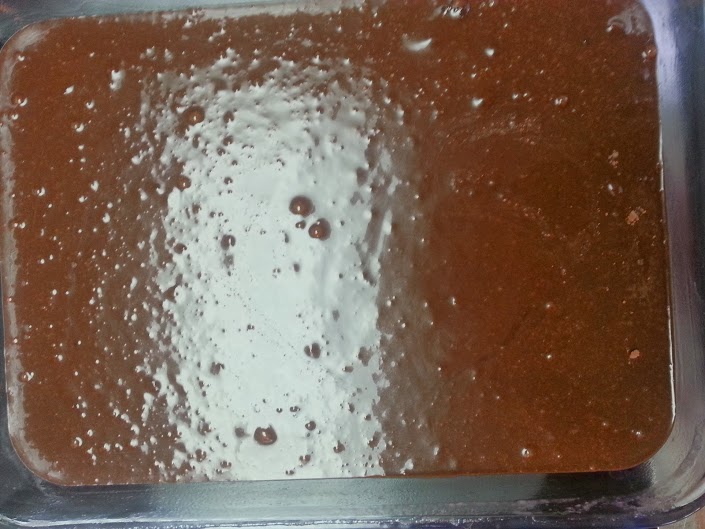
Add the liquid ingredients into the dry ingredients and mix with a mixer for about 3-4 minutes until everything is well blended.

Pour into the greased baking sheet or cake pans.
Bake at 350 until completely cooked through. If you take a knife and gently insert it into the center of the cake and it comes out clean, it is done baking.

Cake Ball Recipe…..
Supply List:
Cake
Icing
BIG mixing bowl
Tray or Big pizza pan
Freezer
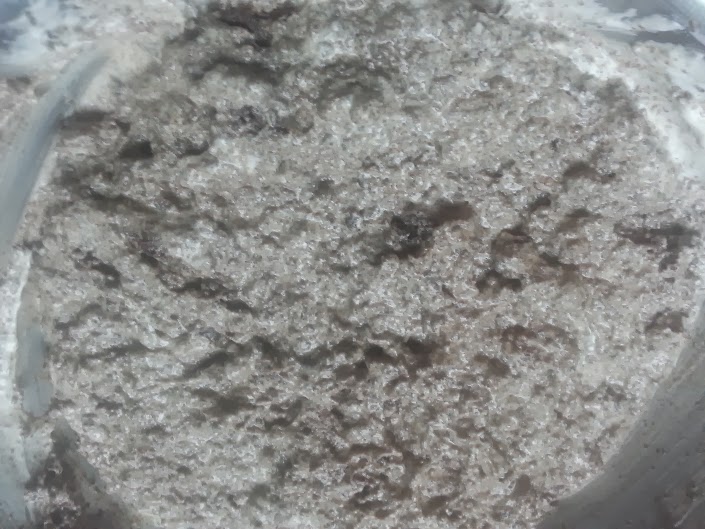
I hope you are not too attached to that PERFECT looking cake you just baked…. Becuase you will need to throw your cake into a bowl and basically torture it until it is a HUGE mass of broken up cake. It will look like a far cry from what it just was! Don’t be sad though. It will be SO worth it in the end! I promise!
Add your favorite icing to it. Don’t have a favorite icing recipe, or know of a homemade icing recipe???? RELAX! Here is my favorite icing recipe! You are so welcome! Where is the fun in sharing my favorite cake recipe and not sharing the icing recipe with you? That just seems kinda mean.
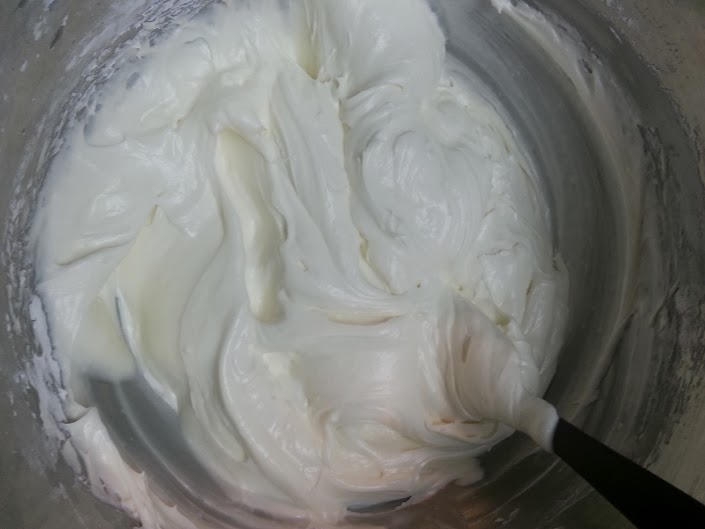
Cream Cheese Icing….
Supply List:
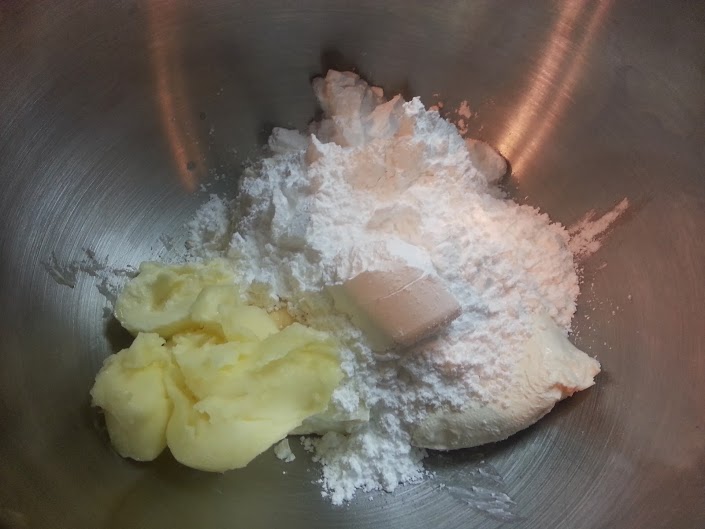
4 cups Powdered sugar
2 blocks Cream cheese (softened)
1/2 cup Butter
1/2 cup Milk
1 tsp Vanilla
Mixer
Directions:
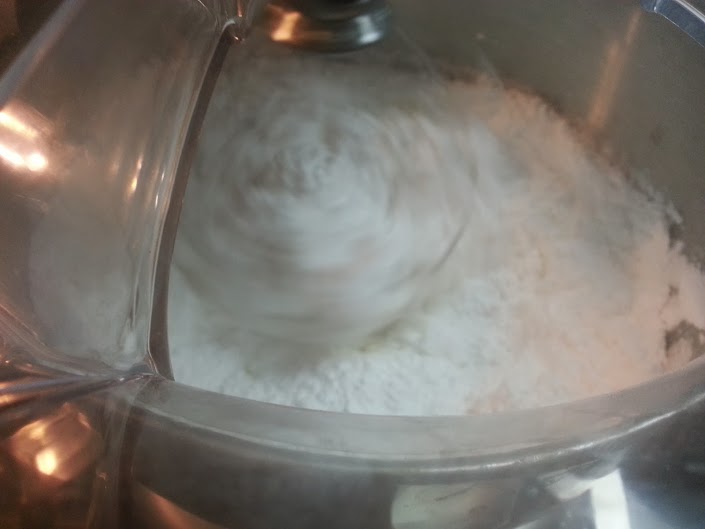
Blend everything in the mixer until a smooth icing is achieved. Some people will add in the powdered sugar a little bit at a time to avoid a puff of white powder. I of course am a baking rebel! I throw it all together and just turn on the mixer, on low, until it is blended enough to stop the huge poof of white powdery goodness, then turn it up to a higher setting. The choice is yours.
Back to making the cake balls!
This part of the recipe is REALLY MESSY! I am so NOT kidding!
DO. NOT. SAY. I. DID. NOT. WARN. YOU!!!!
You literally add the icing to the cake mix a little at a time, mixing the two together until they are well blended.

You will have left over icing. So no need to panic when you see extra in the bowl. Unless you are NOT thinking and decide to add the ENTIRE batch of homemade icing to the homemade cake like I did when blogging this recipe today. I was not paying attention OBVIOUSLY! I was more worried about my 3 kids that were trying to steal the icing before I got a chance to put it in the cake!
It was UHM….YEA….Not my finest hour!
However, I did not panic!
I just did what any insane person would do! I baked a second cake!!!! After I ran to the store to buy everything I needed to make the second cake, that is! Good thing these cake balls freeze beautifully!

After the cake and icing are well blended….

Create balls in what ever size you want by grabbing a small amount of the cake mix and rolling it into a ball. I usually make them about an inch in diameter.
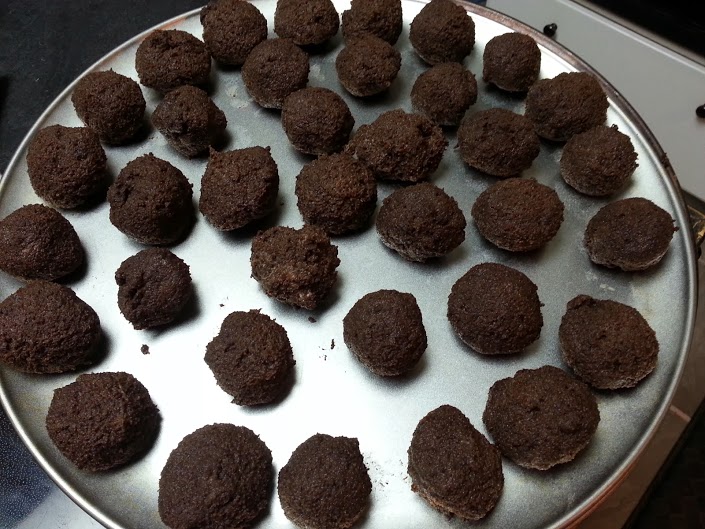
Place them on the tray.
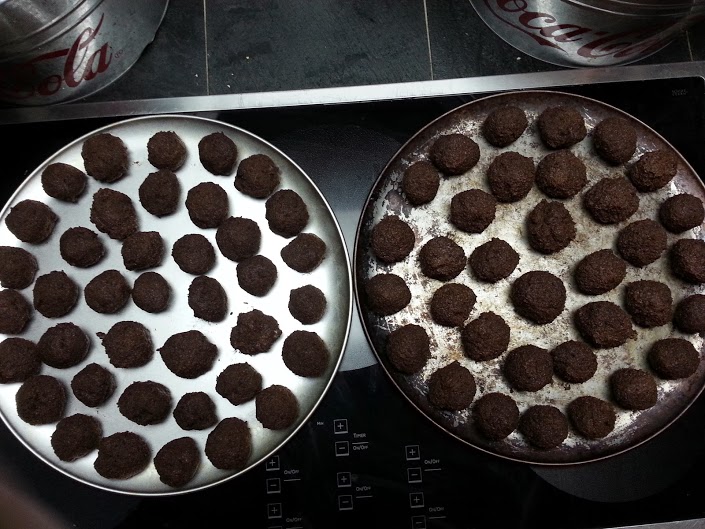
Once the tray is filled, place in the freezer until you are ready to decorate. They will freeze. Don’t panic. It takes them about 10 minutes to thaw at the most.
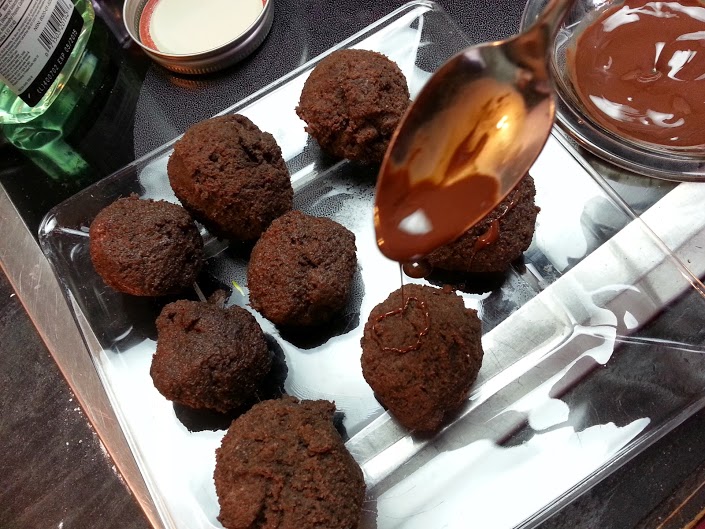
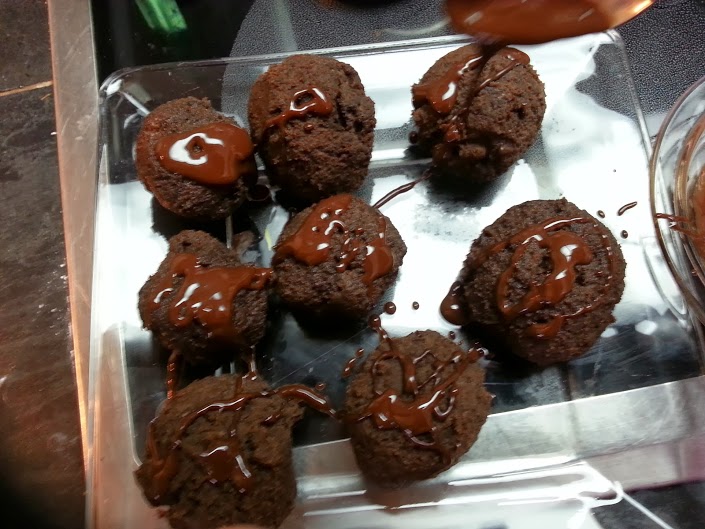
Decorating The Cake Balls…..
Here is where it gets fun. You can choose to do anything! Since there is already icing inside of them, I do not cover them with icing. These are very rich in flavor! I do however drizzle melted chocolate, berry sauce, etc. on top of them for added wow factor and a touch of unexpected yumminess! You can either decorate as soon as you pull them out of the freezer (What I do personally.) or when they are thawed.
Here are some examples…
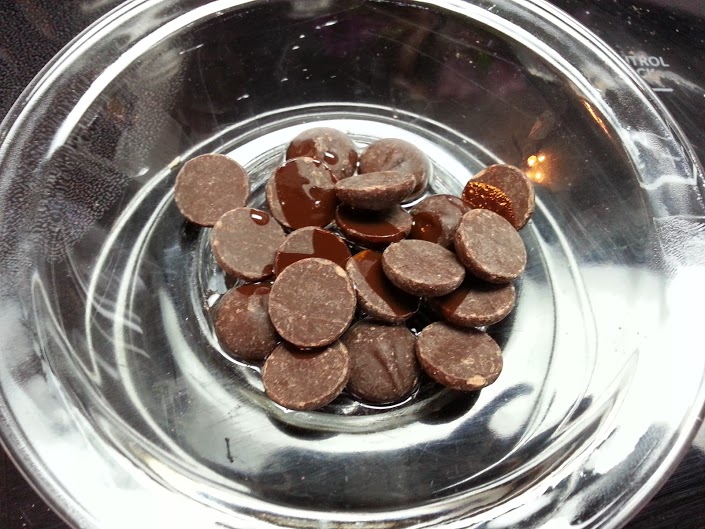
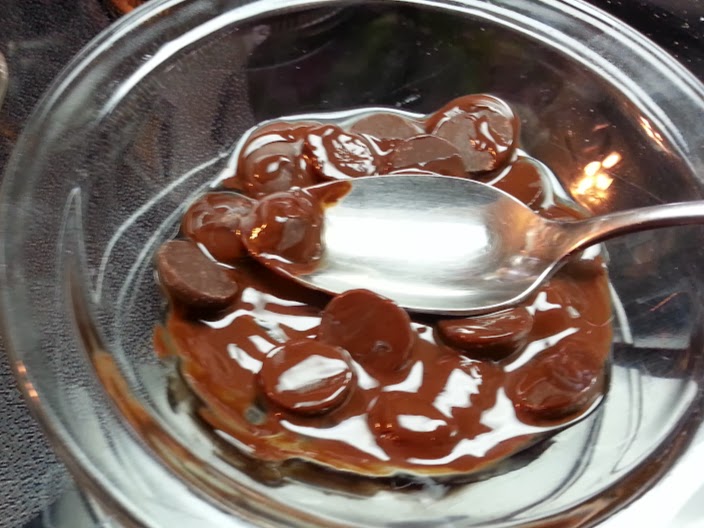
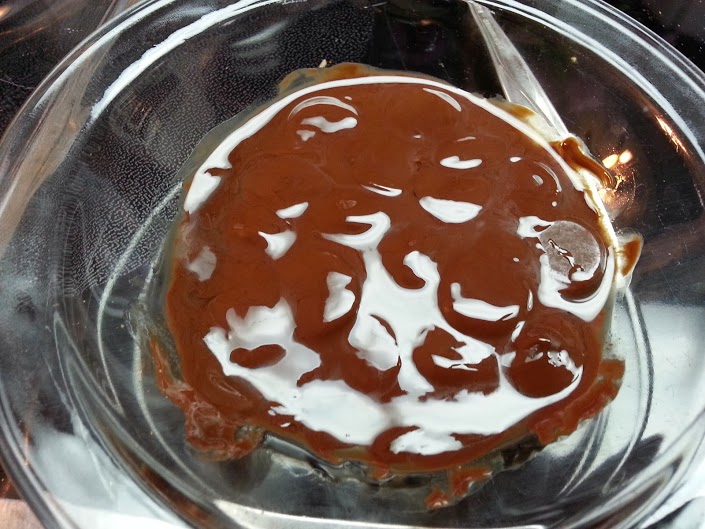
Drizzling Chocolate 101:
Did you think I would not show you how the easiest way to drizzle chocolate? I was clueless until my Mom In Law showed me how to do it! So, I thought I would do the same for you!


Here are cake balls with left over icing and homemade berry sauce (Recipe here)…..

There you have it! My homemade cake balls, from beginning to end!
ENJOY!

Decadent! I’m bookmarking this 🙂
THANK YOU!!!! Let me know what you think about them! They are not your normal cake balls I promise!!!!